In developing electronic automotive devices, arguably the most important phase of the process is the testing, in order to ensure reliability, predictability of behavior, and, above all, the safety of the vehicle. Because of that, ECUs have rigorous standards for being considered automotive-grade. Using automotive-grade materials in testbeds allows for better mimicry of the equipment that will later finds itself in the architecture of a vehicle. As testbeds rated for the highest safety level tend to be proprietary and expensive, they’re not easily accessible to researchers and developers wishing to experiment with new automotive ideas - thus, this lack of access limits technological progress for the automotive industry.
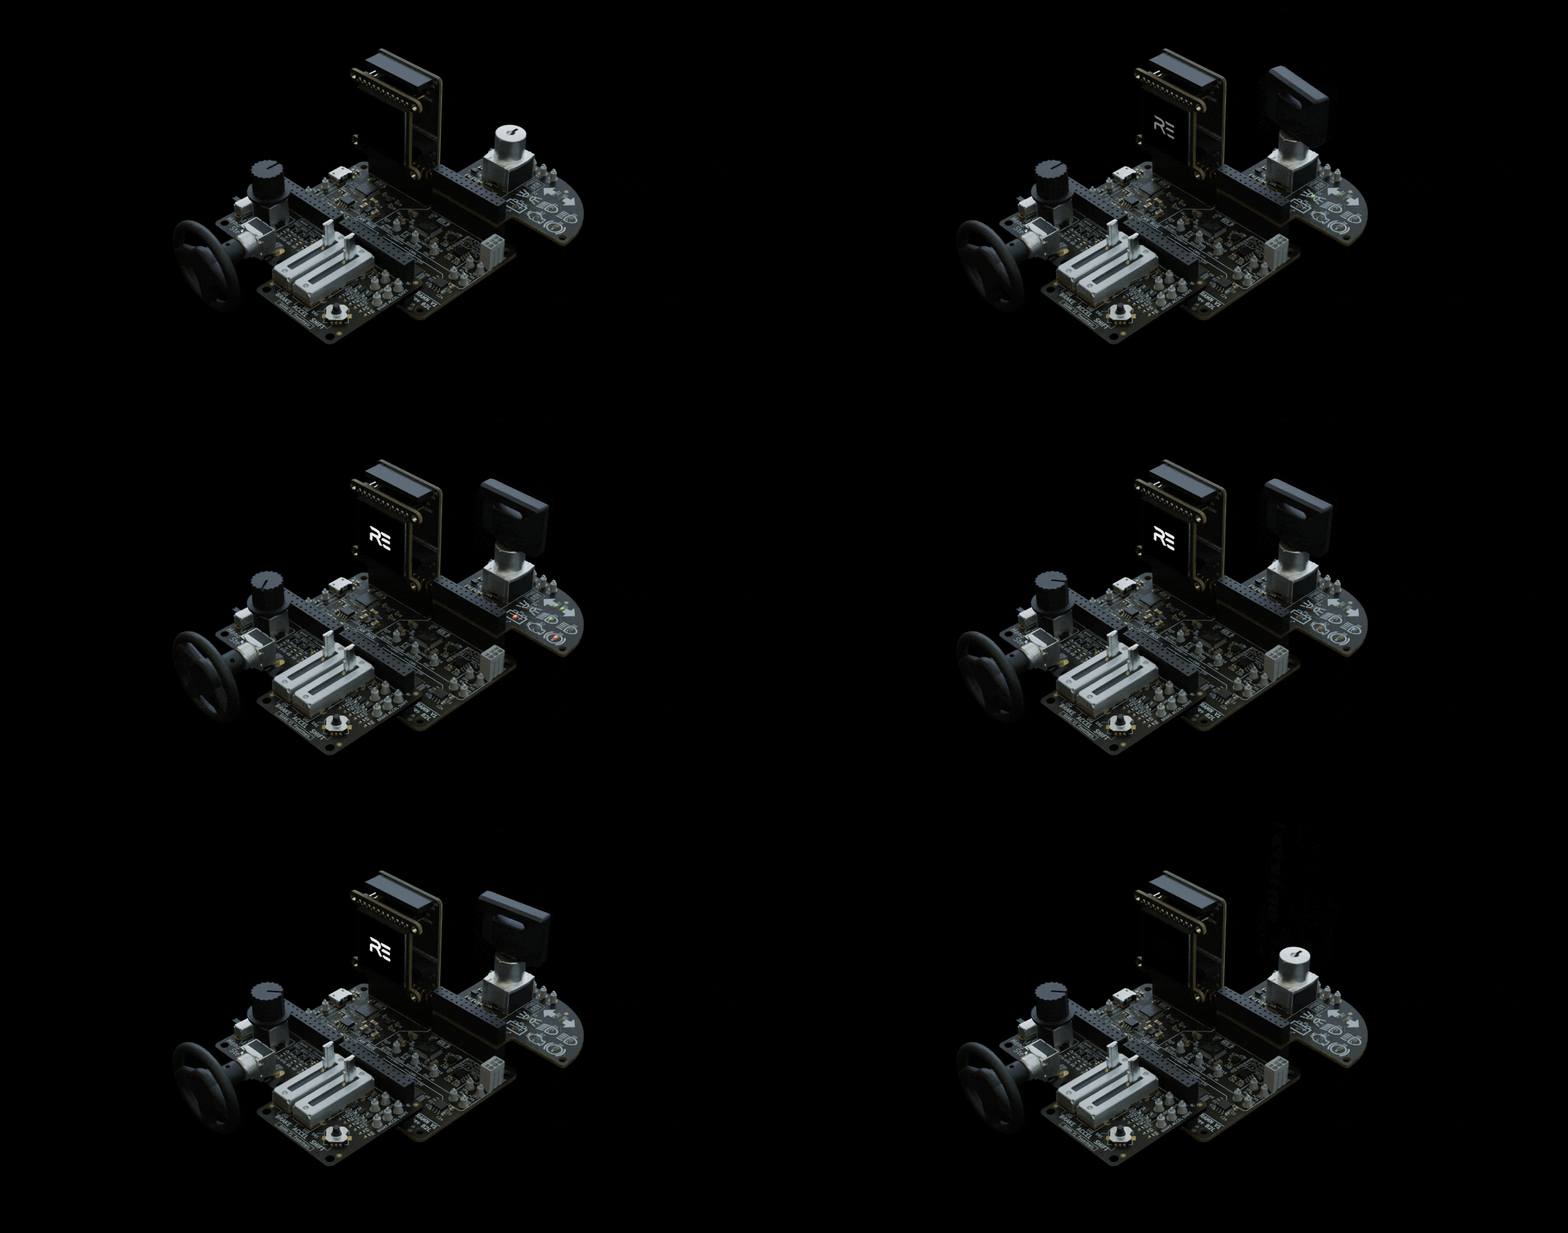
Toyota’s Resistant Automotive Miniature Network (RAMN) serves as a more accessible option; it’s a low-cost, open source, miniature testbed for research and testing of automotive systems, made primarily out of automotive-grade materials. RAMN is a multi-node setup consisting of four STM32HL5-based ECUs connected to a common CAN/CAN-FD bus, allowing users to simulate a CAN/CAN-FD network. RAMN itself is extremely compact, being the size of a credit card, but can be expanded with stackable modules. Additionally, it’s able to be connected to CARLA, an open source simulator for autonomous driving research. And while RAMN provides a more affordable way to test and experiment on ECUs, there still persists the issue of requiring to own the actual hardware, which may not always be an option.
To expand RAMN’s accessibility and give it greater outreach, in a recent customer project, Antmicro implemented support for RAMN in Renode, our open source simulation framework. By doing so, we eliminate the need for physical hardware components - instead, developers may experiment freely with RAMN in Renode, just as they would with the physical testbed but with increased control, more inspection options, and much greater testability. In this article, we describe how to run RAMN in Renode, the changes and improvements we implemented for this project, as well as show you how to connect the virtual RAMN to CARLA.
Running RAMN in Renode via SocketCAN
As RAMN does not produce output on UART, in order to see it at work, it’s best to connect to the virtual CAN interface on your host and observe the CAN traffic directly. To do that, we utilize Renode’s integrated SocketCAN bridge, which allows it to use any external tools one could use with a real device running on a Linux host, such as Wireshark, or any tool from the can-utils suite.
As such, in order to connect to RAMN in Renode, we first need to create a SocketCAN bridge. We start by loading the RAMN script into Renode:
(monitor) include @scripts/multi-node/ramn.rescWe follow that by loading the vcan kernel module on the host:
$ sudo modprobe vcanThen, we create and set up a virtual network interface, named vcan0:
$ sudo ip link add dev vcan0 type vcan
$ sudo ip link set up vcan0
Afterwards, we use the CreateSocketCANBridge command in Renode:
(ECUD) machine CreateSocketCANBridge "socketcan" "vcan0"This creates the SocketCAN bridge, which connects to the previously created vcan0 interface. After doing so, we need to connect the Bridge to the CAN network. For that purpose, we use the canHub object, already created by the ramn.resc script:
(ECUD) connector Connect socketcan canHubFinally, we can boot up RAMN:
(ECUD) startWith the setup complete, you can freely interact with RAMN in the exact same way you would be able to interact with the physical PCB through its USB CAN bridge. This includes interacting with the CAN Protocol, ISO-TP - a transport layer used to enable larger CAN data transports - and UDS (Unified Diagnostic Services) - a shared standard for automotive diagnostic information.
For example, given you have can-utils installed, you may inspect the CAN traffic by typing this command into a separate terminal:
cansniffer -c vcan0For an in-depth list of RAMN’s features and assistance on how to use them, refer to RAMN’s user guide.
Improved ADC inputs and the new CANTester
As stated at the beginning of this article, RAMN is a PCB that consists of four ECUs, all of which contain an STM32L5 microcontroller. This MCU was already partially supported in Renode, with further improvements made for the purposes of this project. We added the STM32L5 FDCAN device model for handling CAN-FD traffic and improved, among other peripherals, the STM32L5’s DMA support, and its ADC (Analog to Digital Converter) device model.
CANTester
As we have demonstrated when connecting the RAMN CAN network to a host via SocketCAN, Renode is equipped with plenty of capabilities in terms of CAN-related features. In order to even further improve the CAN functionality, we expanded Renode’s Robot Framework integration by creating CANTester, which allows for automated testing of CAN traffic. It contains Robot keywords that wait for and capture single frames (with ID filtering), and with built-in awareness of the ISO-TP and UDS protocols. This allows easy automated testing of ECUs without the need for external tools.
To use the CANTester, the simulation must have a CANHub set up and be connected to the interfaces you wish to test.
To run CANTester, use the following Robot keyword:
Create CAN Tester canHub 1This creates a CANTester connected to canHub with a default timeout of one virtual second.
CANTester offers both low and high level protocol support. An example of a low level keyword would be:
${frame}= Wait For Frame With Id 0x62This waits for and captures the first frame with ID 0x62. A high level one, on the other hand, could be:
${response}= Send UDS Command And Wait For Positive Response ${send_id} ${recv_id} ${service} ${data}This keyword sends a UDS command, waits for, and captures a positive reply, while handling multi frame sequences for both sending and receiving automatically.
For practical examples on how the CANTester keywords are used, refer to the Renode test for the RAMN platform. This suite tests the RAMN UDS commands using the high level UDS keywords.
ADC inputs
Another significant improvement we made relates to ADC and the support of various types of inputs. RAMN firmware uses the ADCs to read voltage values from various sensors, such as potentiometers (representing pedals), voltage dividers (joystick, key position) and switches (light) - you can see a block diagram of the RAMN setup below. To see hot areas, individual components, and learn more, the RAMN device is also available on our System Designer portal.
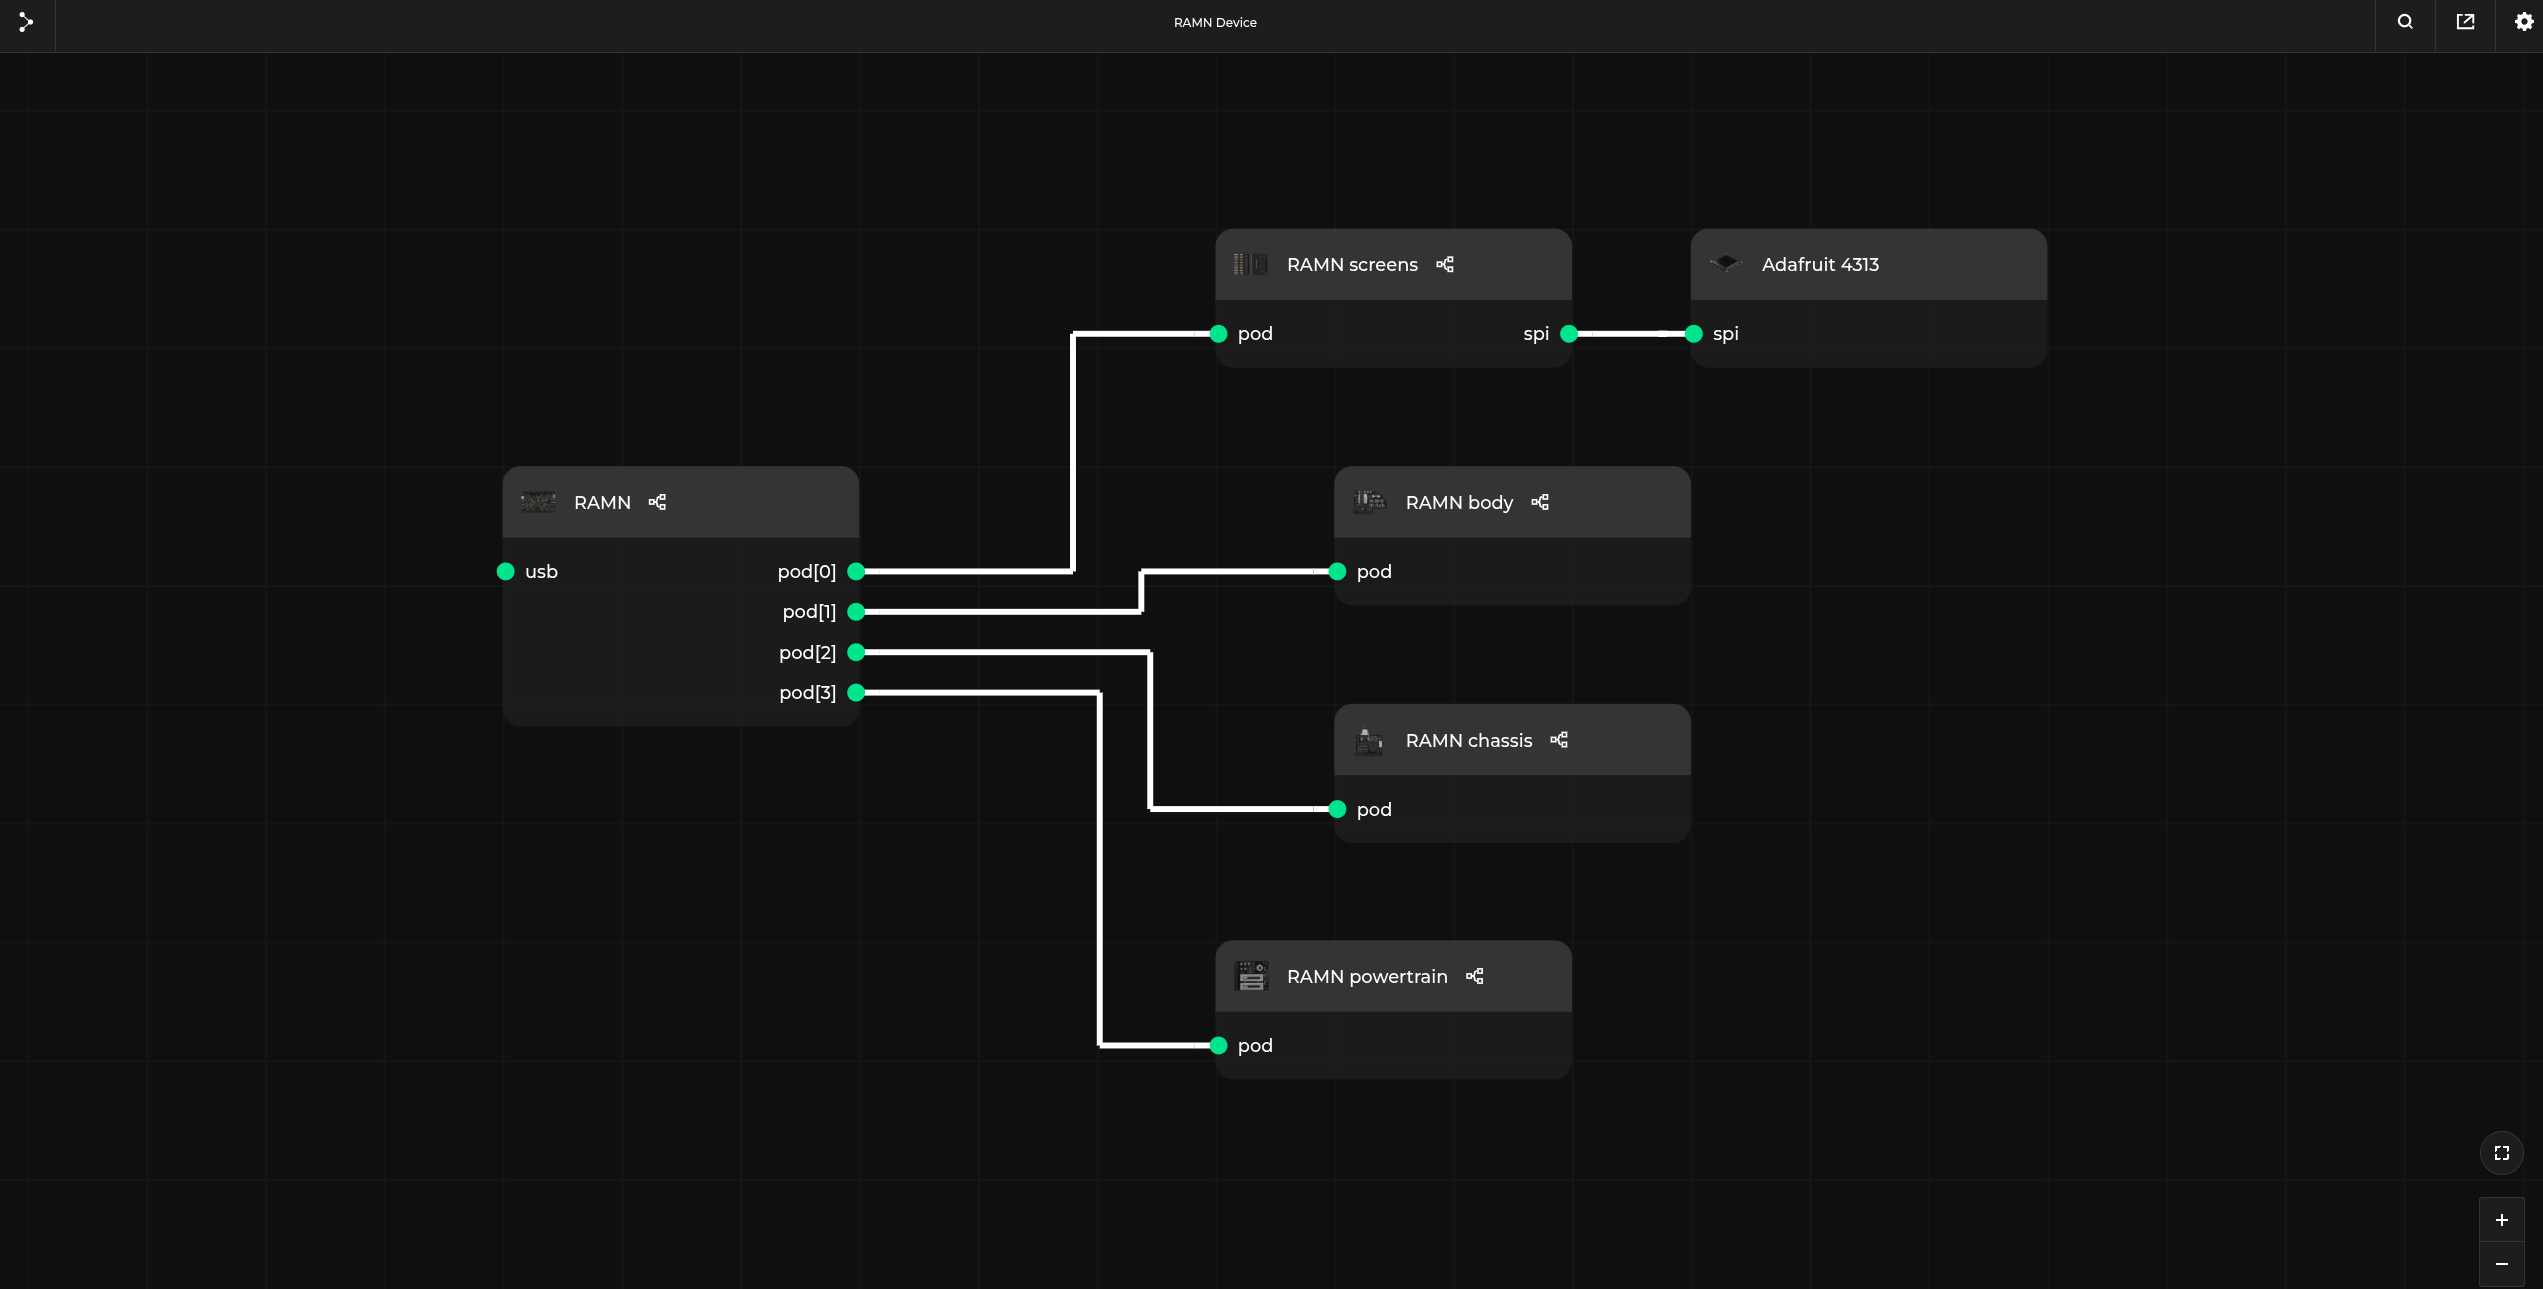 For an interactive version of the diagram, visit the desktop version of the website.
 In order to better represent the simulated hardware, we have added the possibility to model such hardware components in Renode. This means that, instead of needing to input the raw voltage value to the ADC model each time you want to interact with the sensor, you can now specify them as peripherals and rely on Monitor commands for later interaction.
To demonstrate this new feature, we will examine the .repl platform file. The voltage divider that represents the engine key has its values specified as follows:
engineKey: Analog.NamedDiscreteValues @ adc1 9
    namedVoltValues: { "left": 0; "off": 0; "middle": 1.65; "accessory": 1.65; "right": 3.3; "ignition": 3.3 }
With the help of this addition, if you wish to simulate a change to the engine key status, you can simply input a command with the previously specified peripheral name for a chosen position:
(ECUD) adc1.engineKey CurrentState "middle"This informs Renode to set the voltage value to the previously specified 1.65V.
Using the CARLA simulator
As mentioned at the beginning of this article, CARLA is an open source driving simulator, designed as an accessible tool for autonomous driving research. Similarly to RAMN, it aims to provide developers, students and hobbyists with a platform for study and research. And, with both the virtual version of RAMN provided by Renode and CARLA, we achieve a completely hardware-free testbed complete with simulator software to run it on. We will now demonstrate how to connect to CARLA through Renode.
The demo we’re showcasing requires a Vulkan-capable GPU. CARLA 0.9.16, used in the making of the video seen above and the following tutorial, supports Python 3.10, 3.11, and 3.12 - do not use Python 3.13 or any later versions. Run the setup commands in one working directory.
We begin by installing the needed packages, e.g. on a Debian-like system:
$ sudo apt update
$ sudo apt install -y ca-certificates wget git python3 python3-venv can-utils iproute2 kmod \\
  fontconfig libsdl2-2.0-0 libvulkan1 libomp5 xdg-user-dirs
We then need to download RAMN and CARLA:
$ git clone https://github.com/ToyotaInfoTech/RAMN
$ wget https://downloads.carlasim.com/Linux/CARLA_0.9.16.tar.gz
$ mkdir CARLA_0.9.16
$ tar -xf CARLA_0.9.16.tar.gz -C CARLA_0.9.16
And set up RAMN:
$ python3 -m venv RAMN/scripts/.venv
$ source RAMN/scripts/.venv/bin/activate
(.venv)$ pip install \\
          -r RAMN/scripts/requirements.txt \\
          carla==0.9.16 \\
         "numpy<2" pygame shapely networkx
Afterwards, we create the CAN interface:
(.venv)$ sudo modprobe vcan
(.venv)$ sudo ip link add vcan0 type vcan
(.venv)$ sudo ip link set vcan0 mtu 16
(.venv)$ sudo ip link set vcan0 up
In a separate window, we start Renode and enter the following commands:
include @scripts/multi-node/ramn.resc
machine CreateSocketCANBridge "socketcan"
connector Connect socketcan canHub
mach set "ECUB"
adc1.wheel Percentage 79.64
start
Now, back in the previous terminal with the Python virtual environment, we start CARLA with:
(.venv)$ ./CARLA_0.9.16/CarlaUE4.sh \\
          -windowed -resX=600 -resY=600 -quality-level=Low \\
         -carla-settings="$PWD/RAMN/scripts/carla/CarlaSettings.ini" &
(.venv)$ sleep 5
(.venv)$ cd RAMN/scripts/carla
(.venv)$ python RAMN_CARLA_Automatic.py -l --CAN &
After the first command, a window with CARLA’s spectator view should appear, allowing you to move if desired using WASD, and look around by holding down the mouse button.
Upon entering the last provided command, a new window will appear, centered on a randomly chosen vehicle. RAMN will begin to control the vehicle automatically, and you will see control inputs change as it does.
Simulate your multi-node devices in Renode
The addition of RAMN support further highlights the capabilities Renode offers in terms of simulating complex, multi-node systems, including highly intricate electronic automotive devices. Renode’s wide range of support spans hundreds of platforms, including ARM Cortex-A, Cortex-M, and Cortex-R, as well as many RISC-V-based platforms. The ability to connect Renode to a simulator like CARLA shows that Renode, easily paired with an external software tool, enables a more comprehensive testing environment for developing automotive devices co-simulated in the context of real-world conditions. A great starting point for those wanting to learn how to work with Renode is the recently introduced STM32H7 Renode Reference Platform, which you can read about in our blog article.
Renode’s features allow you to test your devices before production with deterministing testing, sensor data processing, execution tracing and more. It enables software validation and automated testing on simulated hardware without having physical boards available. By running the same software that will eventually run on target hardware, Renode helps accelerate the development and validation processes. To find out more about the way Renode can improve the development process of multi-node devices, including automotive-grade platforms, reach out to us at contact@antmicro.com.